Yearbook Master New Features & Changelog
Our team of dedicated developers is constantly updating our proprietary yearbook software to make it better. Posted below are the MAJOR updates. We make minor ones everyday 🙂 If you have a feature you’d like to see added, please suggest it to your yearbook coordinator.
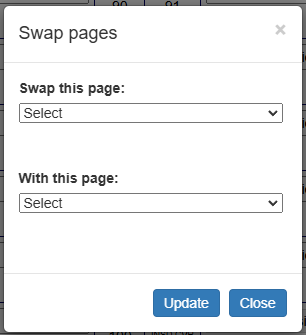
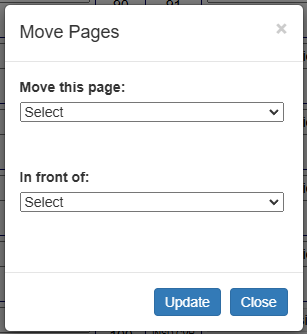
Move & Swap Page Positions
You can now move and swap your page positions in the ladder. Access this feature at the bottom of your ladder.

Updated Page Editor Streamlined Look & Feel
The page editor has been modified to allow you to see the entire page. Buttons have been simplified so your focus is on the page design. We’ve condensed the header. We’ve updated the look and feel of the buttons–but don’t worry–we haven’t moved any of the buttons or icons, so your tools are still in the same place.
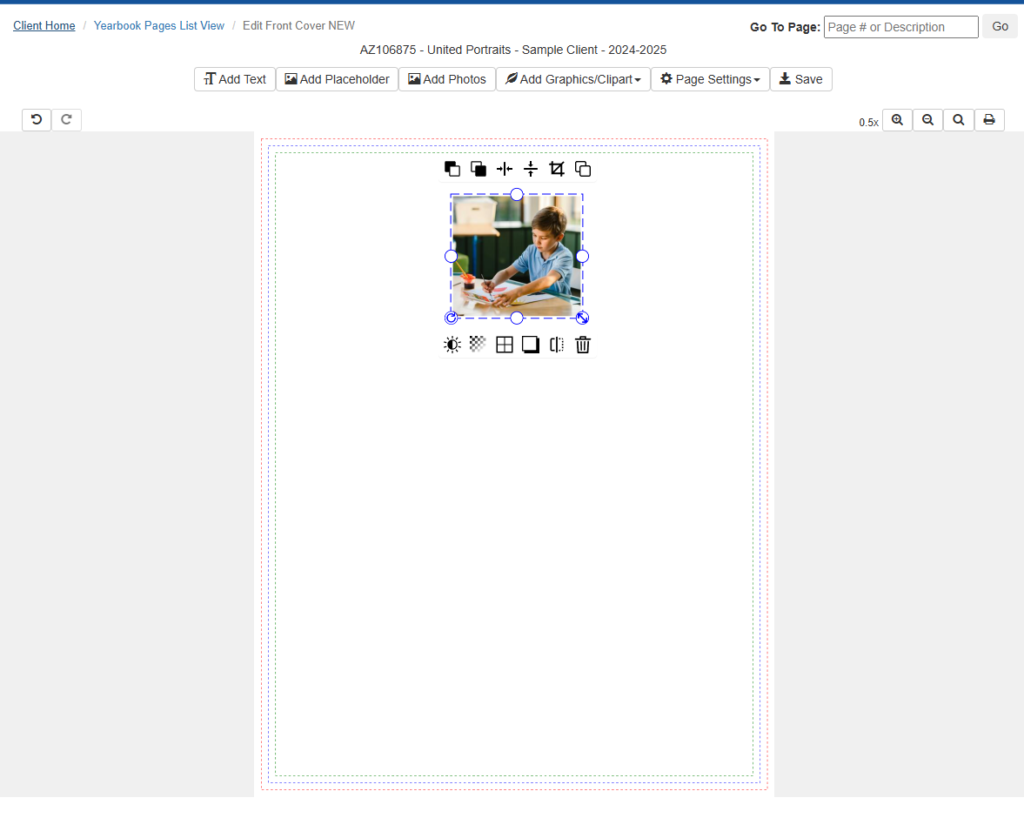
Easy crop on page for clipart, placeholders, objects, and photos
You can now easily crop an object without leaving the object or using the crop tool. Simply click on and drag the circle icons to change the crop of any clipart, placeholder, object, or photo. This makes it super easy to crop images on the fly. Simple drag from the top, bottom, left or right circle icons to how you want your photo to look.
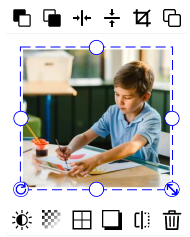
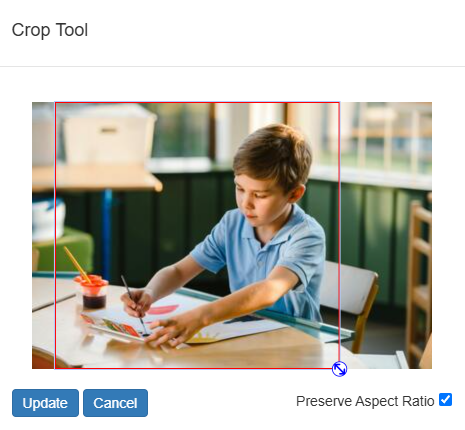
Updated Crop Tool
We have redesigned how the crop tool works. It’s very simple to reposition, and crop images with the new tool. You can also choose to keep the aspect ratio or disable it for free style cropping.
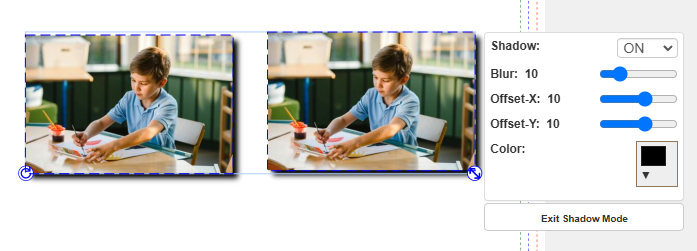
Multi-object selection for styling
You can change and apply the same styles to multiple objects by selecting them all and then applying a style. That could be applying the same border style or color to all selected photos at the same time.
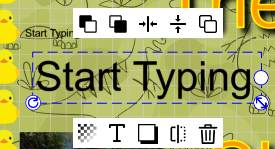
Auto-size text when dragging
Your text will now auto-size when using the arrow tool to make it larger or smaller. You can still change the size of your text when using the Text tool.
Allow sub-users to unlock pages or submit your book
Control the page unlocking/locking by user. For example if you have a senior editor that you trust to unlock pages that have been marked complete, navigate to Manage Users > Set User Permissions. Select the user you want to grant the permission for. Change the permission to “Yes”.
We have also added the same permission options for “Submit Book” however we recommend not granting this permission to anyone who isn’t an administrator because submitting your book will lock you out of all your pages and you’ll have to contact our team to unlock your book.

Submit Your Book To Print
When you are 100% complete with your book, mark all your pages complete–and submit your book for printing!
Once submitted, we’ll begin working on exporting and providing you a PDF to review.
Submitting your book will lock you out of any editing, so make sure you are 100% done with your book before submitting it!
Matching Backgrounds, Borders, and Clip Art
Hovering over a border, background, or clipart will reveal an ID number, search for this ID number to find the exact file. This can be helpful when trying to use the exact same assets on multiple pages.

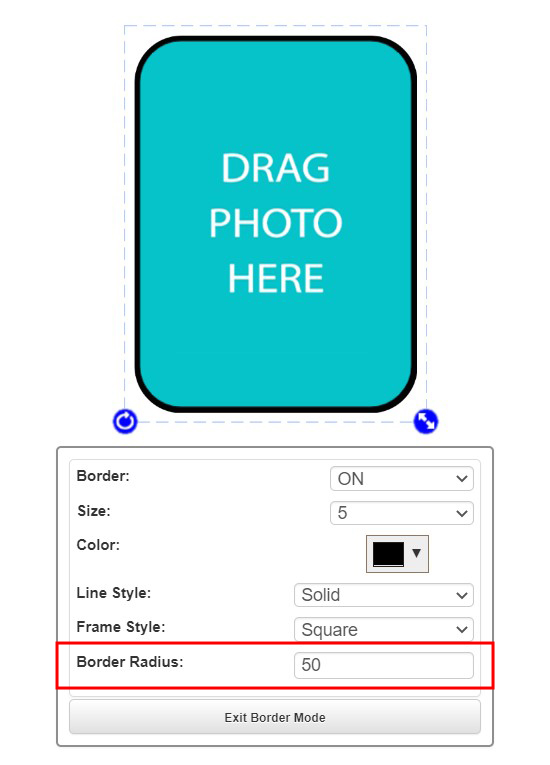
Curved Corners for Placeholders and Photos
You can now create curved corners for all of the placeholders and photos. Turn the border on for a photo and change the number next to Border Radius to change the curvature of the corners.
Multiple Asset Selection
You can now select multiple assets on the canvas by selecting them while holding shift or selecting them with the cursor. This will allow you to move or manipulate multiple assets at once.
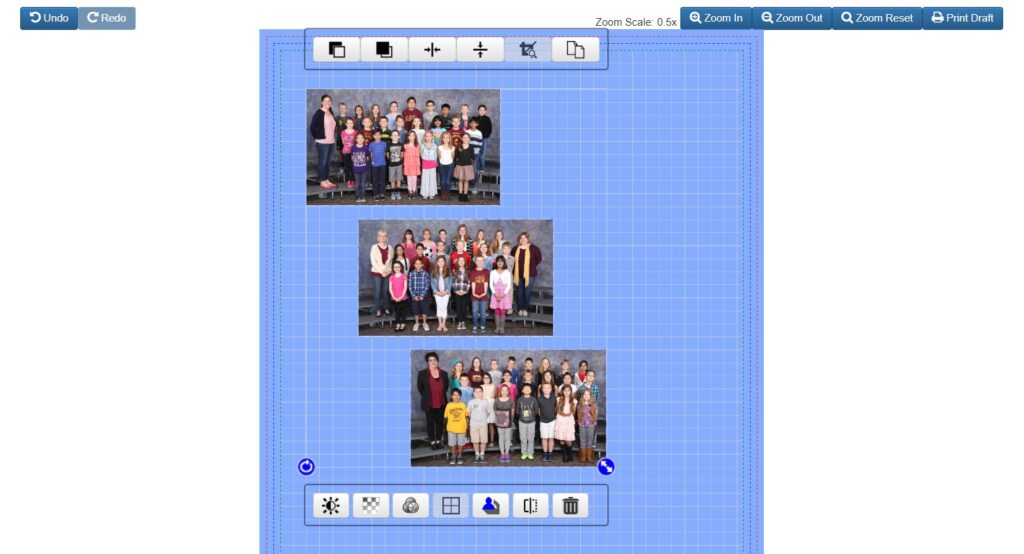
Align Asset to Center
You can now align all text boxes, photos, and clip art to the horizontal or vertical center position. 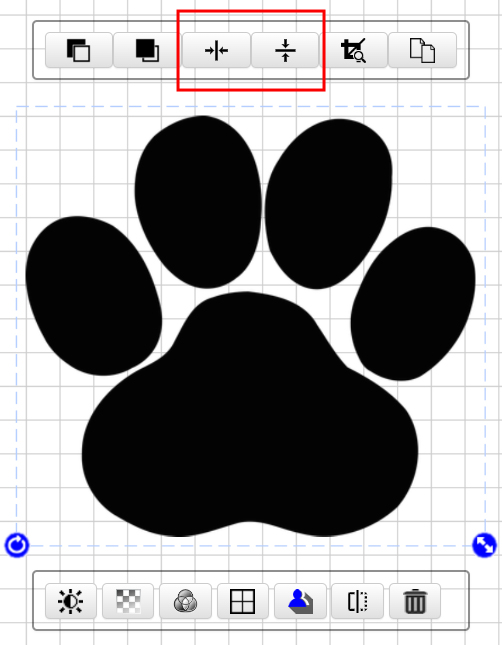
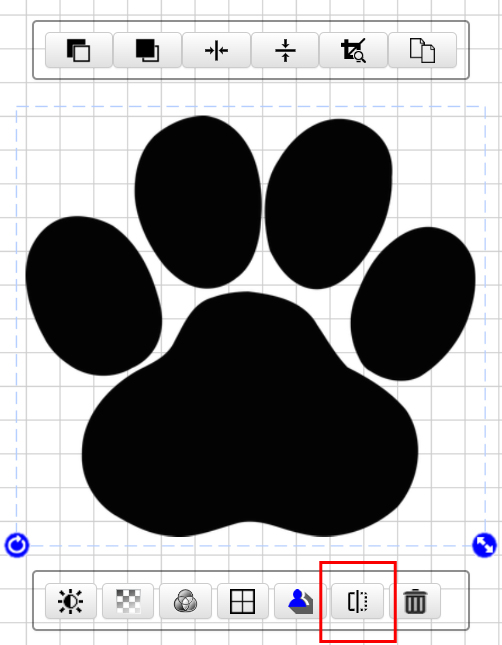
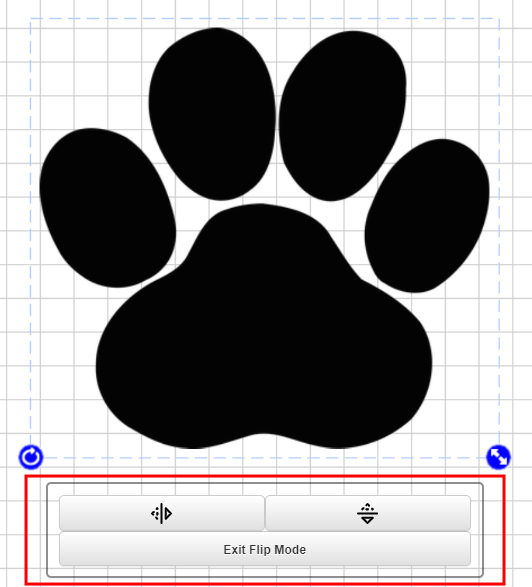
Flip Assets
You can now flip a photo or clip art both horizontally and vertically.
Flip/Rotate Backgrounds
You can now flip a background both horizontally and vertically.

Flip/Rotate Borders
You can now flip a border both horizontally and vertically.

Modify Border Opacity
You can now modify the opacity of a border. You can easily do this by entering a value between 1-100 on the border panel popout.

Modify Background Opacity
You can now modify the opacity of a background. You can easily do this by entering a value between 1-100 on the background panel popout.

Placeholders
You can now add placeholders to your canvas. You can either choose a preset placeholder or choose your own aspect ratio.

Add to Canvas Button
There is now an add to canvas button for photos, clip art, and placeholders. Select the asset you want to add, and click Add to Canvas.

